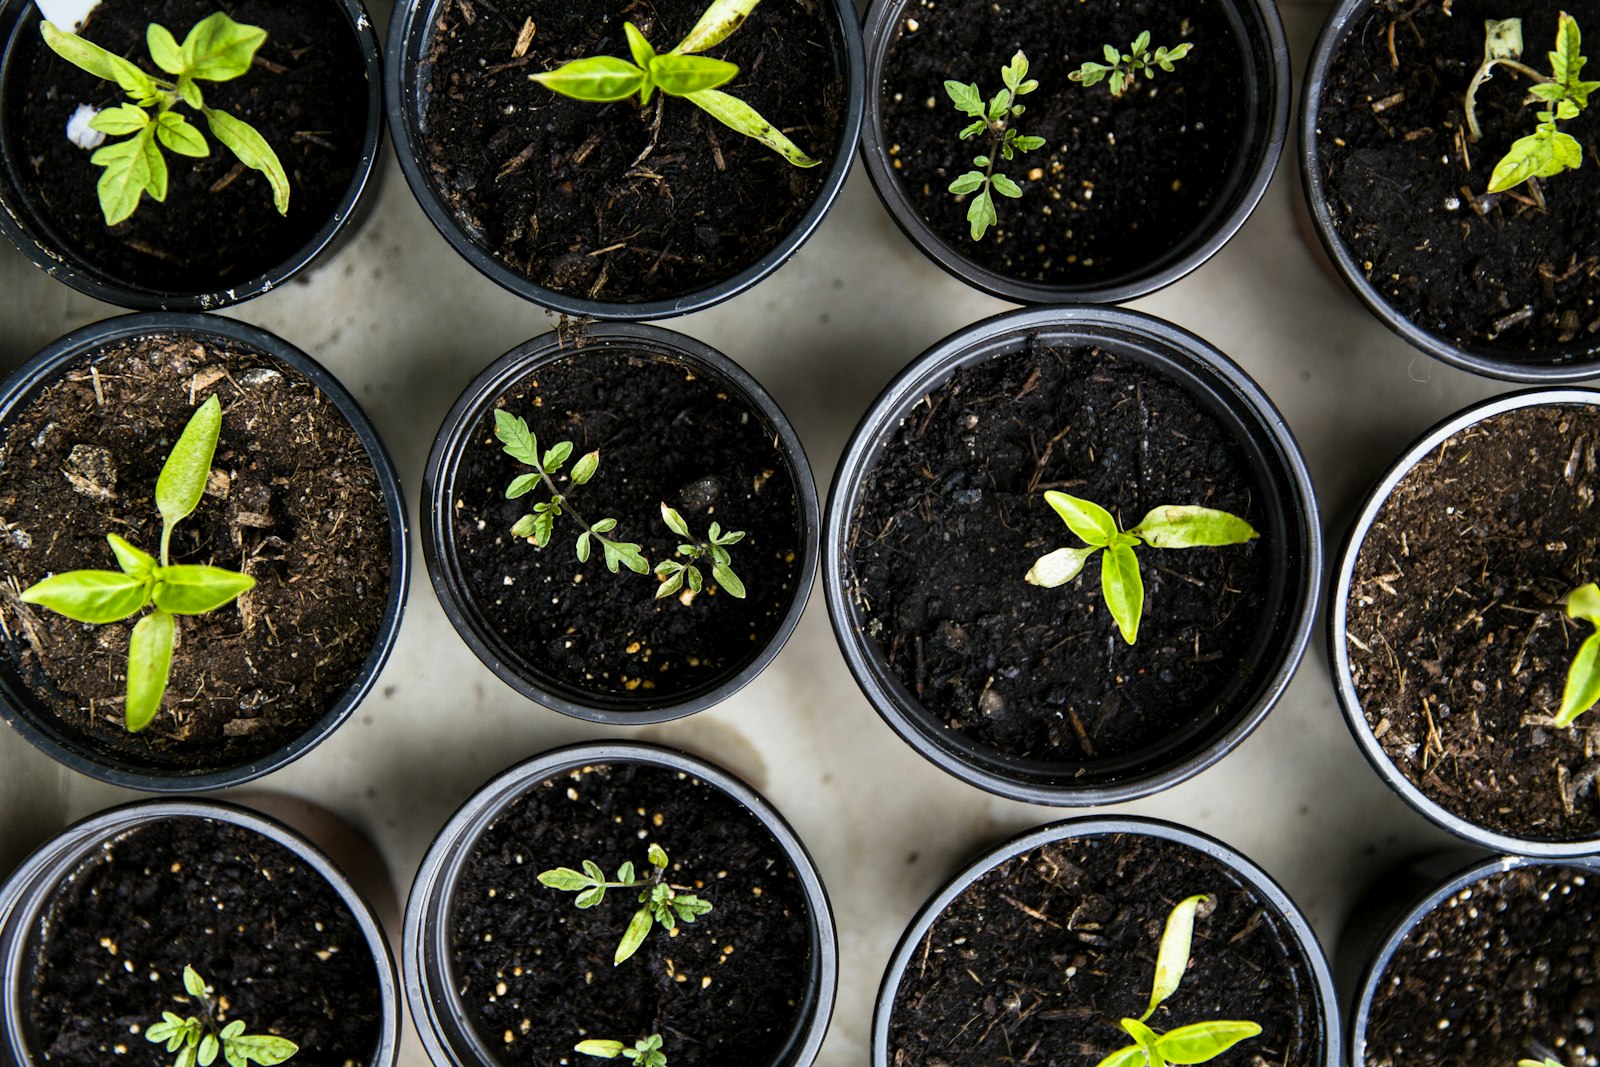
Starting seeds indoors buys you a month of growing season and access to varieties no garden center will ever stock. It’s also where most beginners produce trays of pale, leggy seedlings that collapse in the garden. The difference between the two outcomes comes down to three things: timing, light, and restraint.
When to start: count backwards
Everything keys off your last average frost date — look it up by zip code if you don’t know it. Each crop has a sweet spot:
| Crop | Start indoors (before last frost) | Or direct sow? |
|---|---|---|
| Tomatoes | 6–8 weeks | Start indoors |
| Peppers | 8–10 weeks | Start indoors — they’re slow |
| Herbs (basil, parsley) | 6–8 weeks | Either works |
| Cucumbers, squash | 3–4 weeks max | Direct sow is often easier |
| Beans, peas, carrots | Don’t bother | Always direct sow |
| Lettuce, kale | 4–6 weeks | Either works |
The most common mistake isn’t starting too late — it’s starting too early. A tomato sown 12 weeks out becomes a root-bound, stressed plant. Six to eight weeks produces a stocky seedling that outgrows it within a month.
What you actually need
- Seed-starting mix — fine-textured, sterile, low in nutrients. Not garden soil and not potting mix.
- Containers with drainage — cell trays, soil blocks, or yogurt cups with holes poked in.
- Light — the non-negotiable. See below.
- Waterproof tray + labels — you will not remember which cell is which.
- Optional: heat mat (speeds germination ~50% for warm crops), humidity dome, small fan.
Light: where good intentions die
A south-facing windowsill delivers a fraction of what seedlings need — that’s why windowsill seedlings stretch into pale, floppy threads reaching for light that isn’t there.
- Use a shop light or LED grow light hung 2–3 inches above the leaves.
- Run it 14–16 hours a day — a cheap timer makes this automatic.
- Raise the light as plants grow. If stems stretch, the light is too far or too dim.
Sowing and care
- Pre-moisten mix until it holds together like a wrung sponge. Fill cells and firm lightly.
- Sow at packet depth — a general rule is 2× the seed’s diameter. Two seeds per cell; snip (don’t pull) the weaker one after germination.
- Cover with a dome or loose plastic until sprouts appear, then remove it — trapped humidity invites damping-off fungus.
- Water from the bottom — set cells in a tray of water for 15 minutes. Keeps foliage dry and stems healthy.
- After true leaves appear, feed weekly with half-strength organic fertilizer or compost tea.
Harden off — the step everyone skips
Indoor seedlings have never felt wind or full sun. Moving them straight outside is like sending them from a spa to a construction site. Spend 7–10 days transitioning:
- Days 1–3: a sheltered, shady spot outside for 2–3 hours.
- Days 4–6: morning sun, longer stays.
- Days 7–10: full days outside, nights too if temps allow.
Then transplant on a cloudy day or in the evening, water in deeply, and shade for a day or two if it’s hot.
Troubleshooting
| Symptom | Cause | Fix |
|---|---|---|
| Tall, pale, floppy stems | Not enough light | Light 2–3″ above leaves, 14–16 hrs/day |
| Seedlings collapse at soil line | Damping-off fungus | Sterile mix, airflow, bottom-water only |
| Green algae crust on mix | Too wet, poor airflow | Let surface dry; add fan; scrape off |
| Purple-tinged leaves | Cold temps stalling phosphorus uptake | Warm the space to 65–75°F |
“Stocky beats tall. A short, thick-stemmed seedling hardened off properly will outgrow a leggy greenhouse giant every single time.”